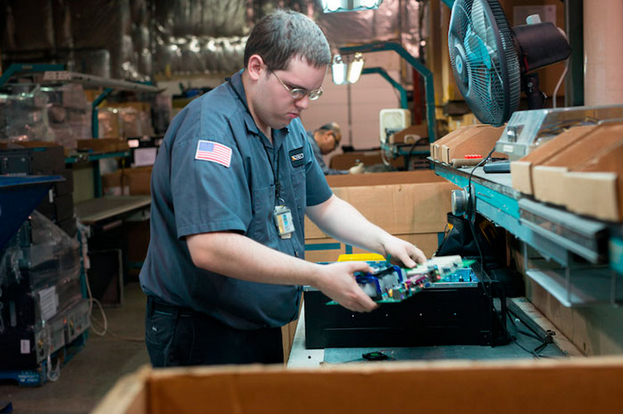
It’s important to properly recycle computers and other e-waste. Electronics contain harmful substances such as arsenic and lead that will leak into the ground and water if not recycled. To successfully process each material that devices contain, it’s important to know how to take apart a computer. In addition to the environmentally-friendly process for e-waste recycling, retired electronic equipment contains business and personal information that needs to be securely destroyed so that it doesn’t end up in the wrong hands.
Here are step-by-step instructions on how to take apart a computer for recycling.
1. Unscrew the four screws (if available) or remove one of the side covers, usually found on the right side of the computer if you’re facing it.
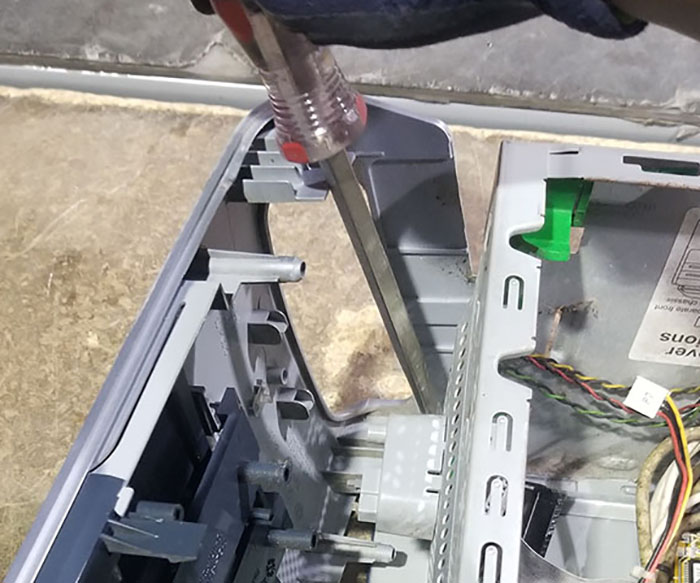
2. Disconnect all the connectors and remove the DVD player.
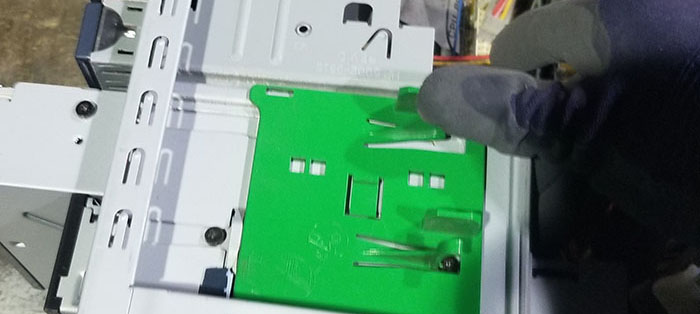
3. Remove the power supply by unplugging the connectors, then unscrewing the unit from the frame.
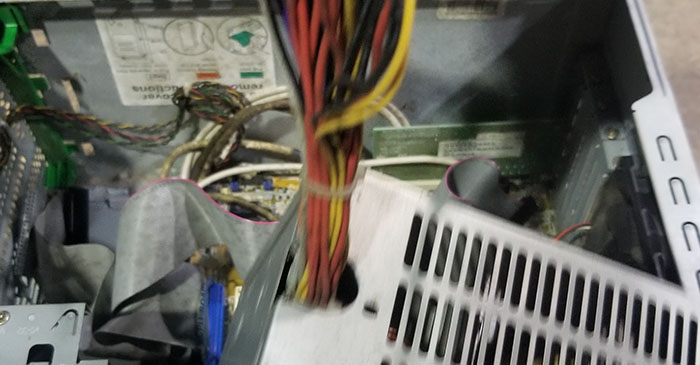
4. Remove the hard drive from the side of the slot by unscrewing the four screws securing it in place.
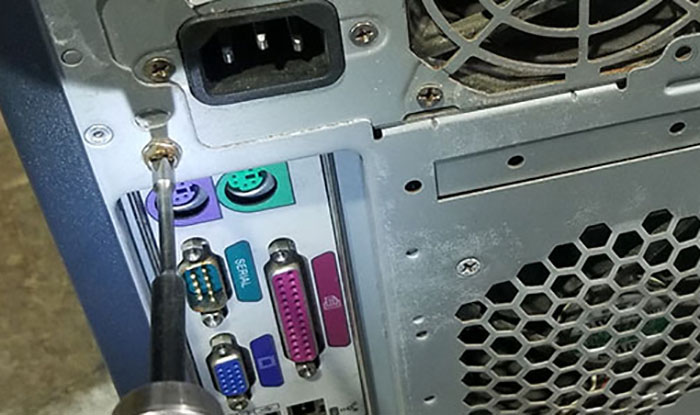
5. Remove the button battery and heat sink from the motherboard. Also, remove the memory by pushing the clips on both ends of the module.

6. Remove the CPU fan connected to the heat sink by removing the four screws that secure it in place.
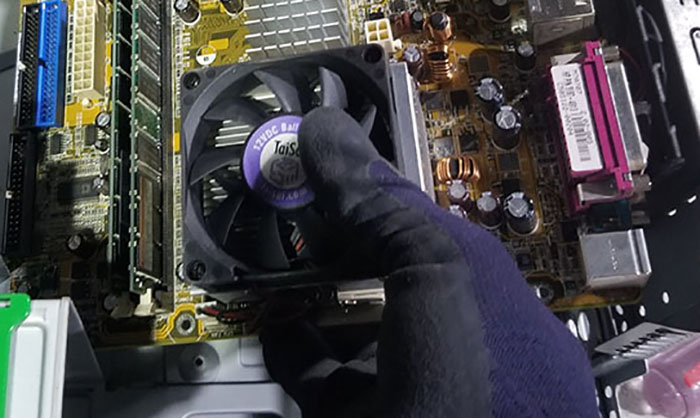
7. Disconnect all cables from the motherboard, then unscrew it from the frame.

That’s it – the easy steps on how to take apart a computer for recycling. Once the recycling process is complete, information that remains on hard drives and other data-containing devices is ready for data destruction. Securis has this process down to a science and is able to dismantle multiple computers at a time.
This post was written by Securis’ Warehouse Manager in Operations, Rida Ibrahim.

